
Easter is a time of celebration and joy for many families, and what better way to add to the festivities than by creating fun and colorful Easter egg crafts!
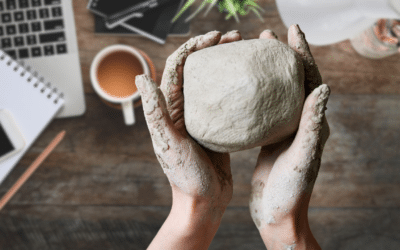
With the help of plaster bandages and balloons, you can make super fun Easter egg crafts that will delight both kids and adults alike.
Watch how we did it here!
Materials Needed:
- Plaster bandages
- Balloons
- Scissors
- Paint
- Paintbrushes
- Water
- Mixing bowl
- Small bowls or glasses to hold your balloons up
- Tape
- Decorations – we got ours at a Dollar Store!
Step 1: Prepare the Plaster Bandages
The first step in creating your Easter egg craft is to prepare the plaster bandages.
Note: If you don’t have time to order these, there’s a recipe for paper mache below.
Plaster bandages can also be found at most craft stores and come in long strips that are easy to work with. Start by cutting the plaster bandages into small pieces, about 2-3 inches in length. Then, fill a mixing bowl with warm water.
Step 2: Inflate the Balloons
Once you have prepared your plaster bandages, it’s time to inflate your balloons. Choose a size that is appropriate for your Easter egg craft. You can use a regular balloon, or you can use a larger one for a more dramatic effect. Just be sure to inflate the balloon to the desired size.
Once the balloons are inflated, stick them to a small bowl or glass with tape so that they stay upright while you apply the plaster strips.
Step 3: Apply the Plaster Bandages
Now it’s time to start applying the plaster bandages to the balloon. Dip each strip into the warm water, making sure it is completely saturated. Then, apply the wet plaster bandage to the balloon, smoothing it out as you go. Repeat this process until the entire balloon is covered in a layer of plaster bandages.
Step 4: Let the Plaster Dry
After you have covered the balloons with the plaster bandages, set them aside to dry. This can take several hours, so be patient. Once the plaster is completely dry, carefully pop the balloon and remove it from inside the plaster shell. You should now have a hollow plaster egg that is ready to be painted.
Step 5: Paint the Easter Egg
Once your plaster egg is dry and ready, it’s time to paint it. You can use any type of paint that you like, from acrylics to watercolors. Let your imagination run wild and create a design that is unique and fun. You can use pastel colors for a traditional Easter look, or you can use bright and bold colors for a more modern twist.

Step 6: Add the Finishing Touches
After your paint has dried, you can add any finishing touches that you like. You can add glitter, sequins, or stickers to make your Easter egg craft even more special. You can also use a permanent marker to write a special message or to personalize the egg for each member of your family.
Using Paper Mache Instead of Plaster Bandages
If you don’t have time to order the bandages or prefer not to, use torn up newspaper and a paper mache mixture.
Here’s the recipe:
- Mix 1 part flour with 2 parts water in a pot over medium low heat.
- Use a whisk to stir the mixture and remove all the lumps.
- Keep stirring until you see the mixture start to thicken and it starts to looks like a paste. Don’t let it get too thick.
- Let it cool and then dip your newspaper strips into it to create your egg!
Creating Easter egg crafts for kids using plaster bandages and a balloon is a fun and easy project that can be enjoyed by both kids and adults. Not only is it a great way to spend quality time together, but it also allows you to create unique and beautiful decorations for your home. So why not give it a try this Easter season and see what kind of creative designs you can come up with?
Let me know how this project went for you in the comments!


0 Comments