Starting an art business at home? You’ll need to think about where you’re going to work.
So in this article I put together a list of ideas and inspiration to help you design your home art studio.
Since things that are loved and used have strong, active energy around them, when you surround yourself with your favorite things you add clarity and focus to your life.
Feng Shui principle
Here’s a checklist for setting up your art studio at home:
Picking your location
If you have a spare room or shed you can use, then location is a no-brainer. You can use that space as your at home art studio and set it up to be both practical and inspirational.
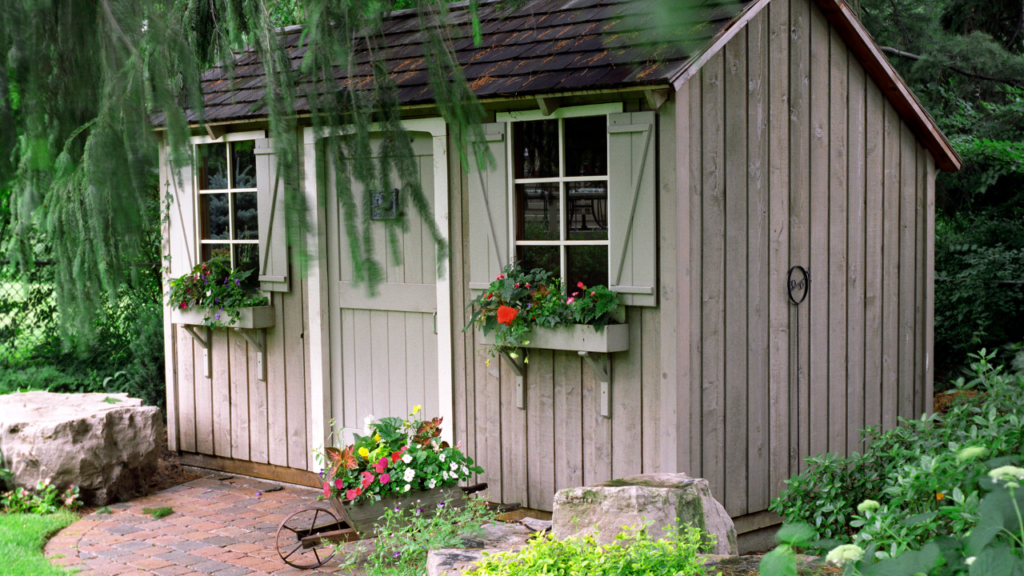
You can start basic and build it up over time, or plan it all in advance (keep reading!). On top of this, you’re an artist so you can have fun putting your space together!
But the key ingredients to creating an art studio at home are to incorporate both sides – practical and inspirational.
State of mind is a significant driver of our productivity and effectiveness, but it is consistently overlooked and underappreciated.
Dr Aaron Turner
You should feel good walking into your studio to work and it should help to put you into a place of relaxation and flow. Don’t overlook this.
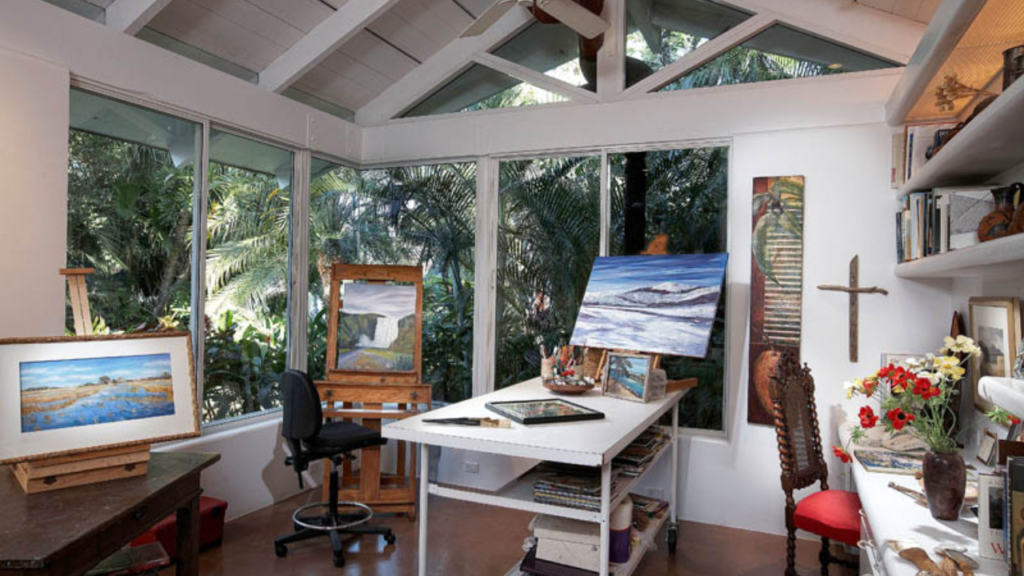
Keep in mind that you’ll need a desk with a laptop to work on your business. Plus you need a space to do your art work.
If you’re setting up a Life Casting, jewelry or mold making business, you’ll need a large surface to work on. And keep that separate from your business space. Not only does it allow you to shift your mindset when you move from one area to the other. It also keeps the mess apart from the tech and files of your business.
If you don’t have a dedicated spare room or shed location to set up in, here’s a list that might help you brainstorm other locations.
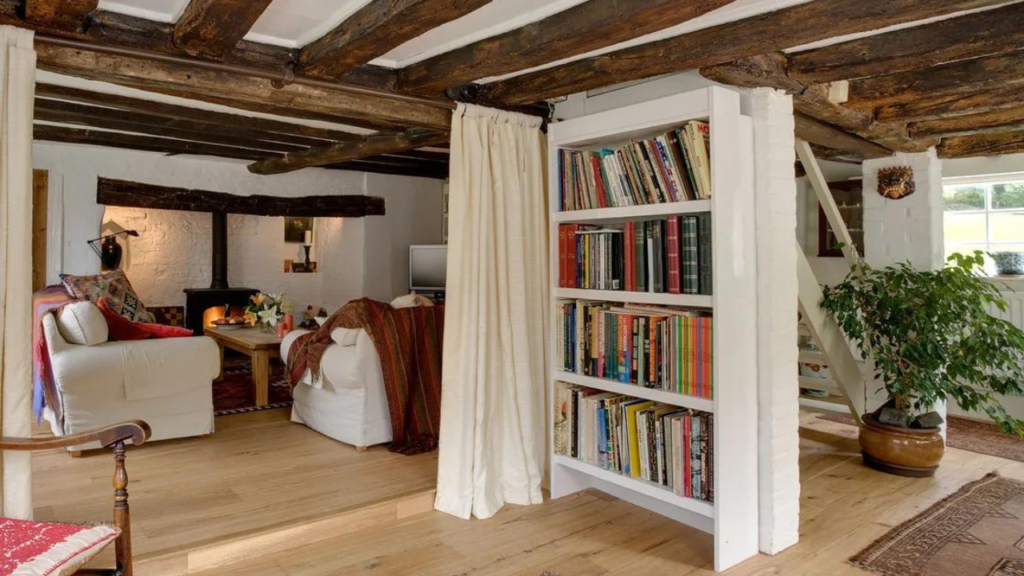
- Section off space in another room
- Convert the garage
- Share office space
- Use the attic or basement
For Mom’s with kids, make sure you set ground rules for keeping little fingers out of your studio unless they have permission. Art supplies should be kept out of reach until they’re old enough to understand how to handle things that could be dangerous.
Download Your Free Home Art Studio Checklist & Budgeting Sheet
A done-for-you spreadsheet to help build and plan your creative space!
By signing up, you consent to receiving email newsleters from us. You can unsubscribe any time and we respect your email inbox and will never spam!
What to put in your studio
FLOORING
Creating artwork in your art studio at home is usually messy. In the world of paint, clay, plaster, markers, and even jewelry there will be spills, splashes and splatters. Maybe even a tool or two that gets dropped. So it’s important to think about your art studio flooring.
Even if you have a tile or wood floor, sometimes it can be damaged or stained easily and you don’t want to be worrying about it while you should be in the zone. If your floor is less than optimal for messy projects, consider covering it with some creative floor coverings.
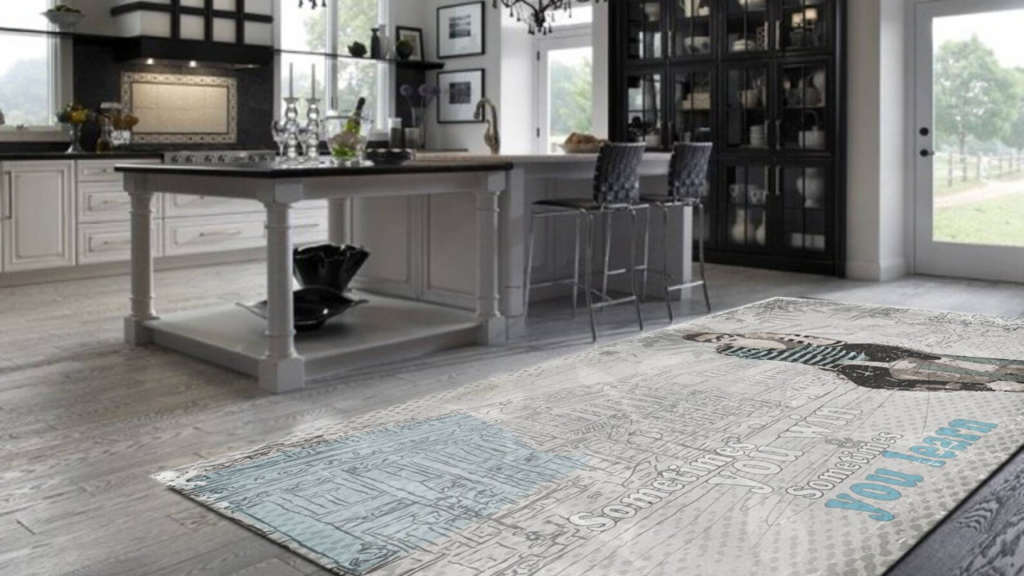
One of the best options in terms of moisture resistant and budget friendly is vinyl. If you don’t want to lay down permanent vinyl flooring, buy an 8 x 10 piece of vinyl or laminate flooring and use it under your work table like an area rug. You can even add a vinyl border. Use a reducer edge which you can get at any flooring store. Attach the border using rubber cement.
Alternatively, here’s a great example of one you can purchase on Etsy.
Another great option is to purchase something like these foam floor tiles.
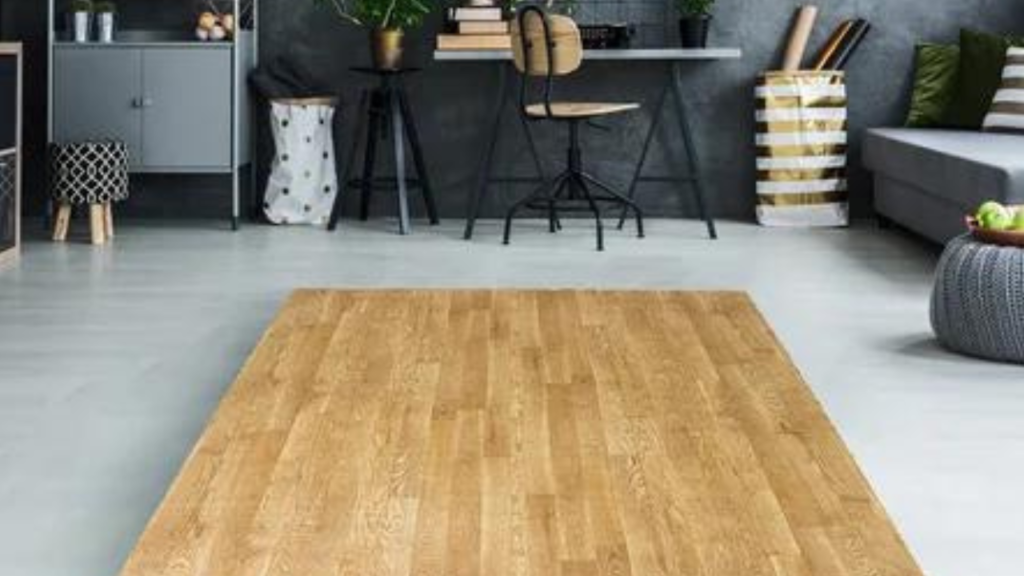
If you have a small space and the budget, these interlocking tiles not only look good, they’re water resistant and are soft and comfortable to walk and work on. Especially if you’re usually standing to do your work since it reduces standing fatigue.
My favorite art proof flooring option is using painted and epoxy flooring.
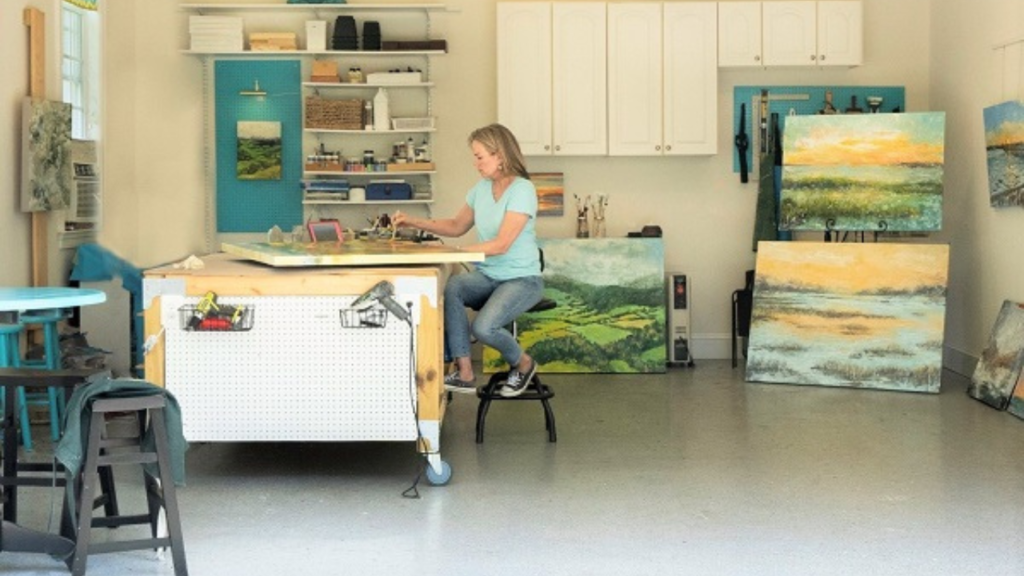
This is another beautiful and budget friendly option. Just make sure to ask for the right paints and sealers to make sure the floor is water and stain resistant.
ORGANIZATION
We established that your home art studio should feel inspiring. That means it should be clutter free and organized.
Here are some fun ideas to help.
Add an island table in the middle of the room to use up the space. Or use rolling carts for portability. Don’t forget to keep your most used tools closest to the table you work on.
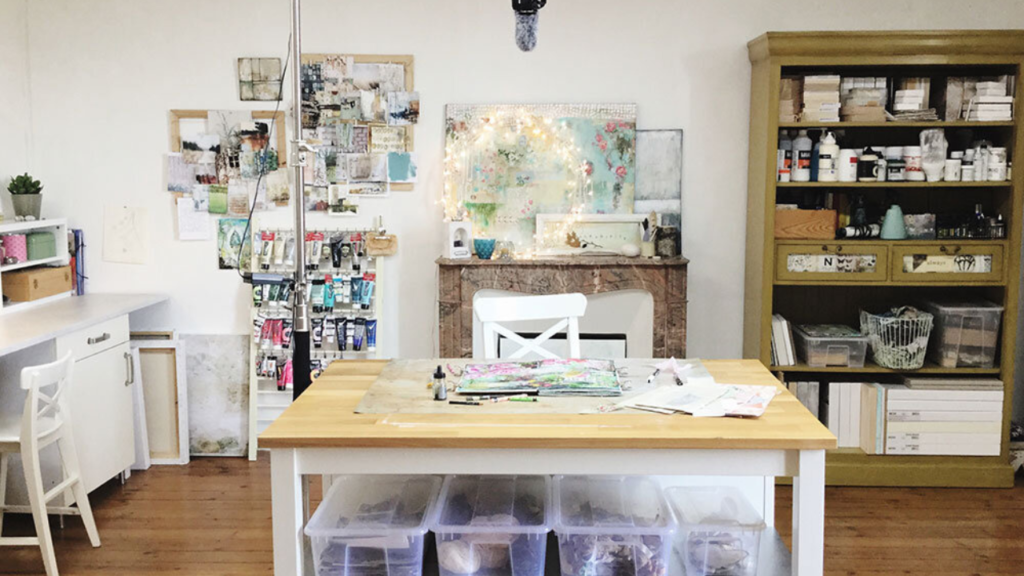
Go vertical and add shelving on the walls.
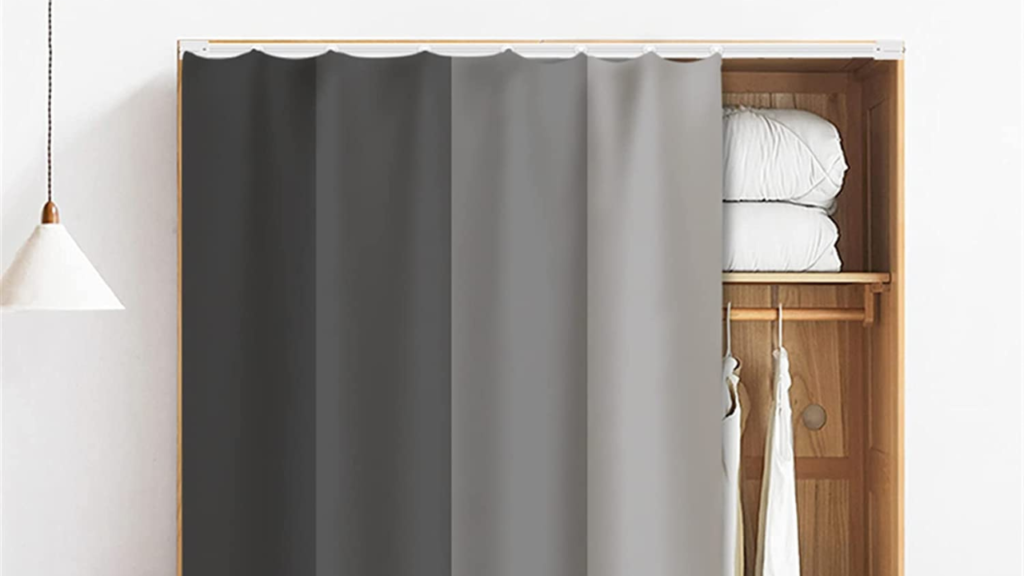
Consider hiding an area behind a curtain or barn doors if you want to keep it cleaner looking. You can also use shelving under tables and add a curtain to hide the mess.
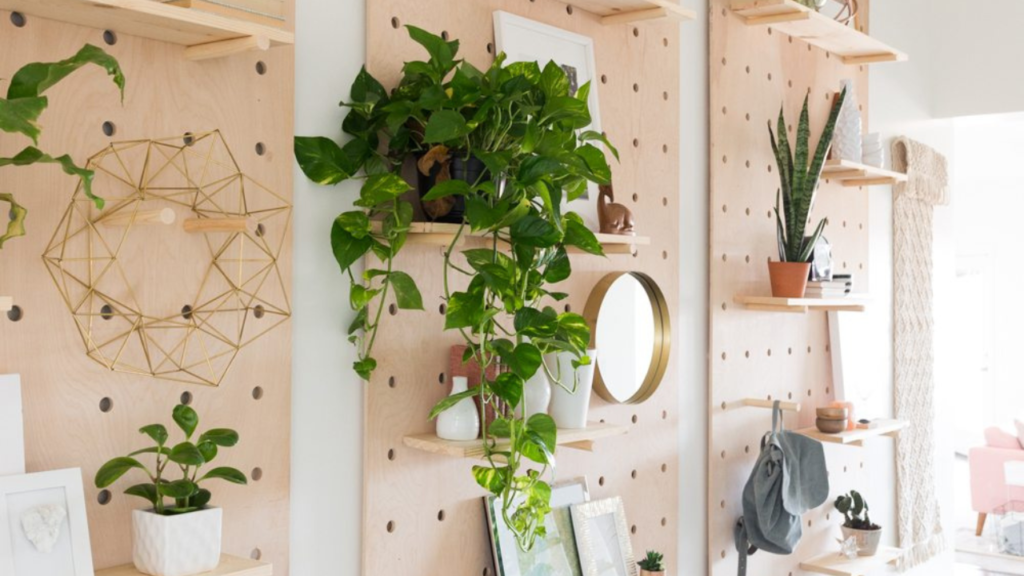
Use peg boards, add a whiteboard, chalkboard or wall calendar to your walls. Add buckets and hooks for storage. Check out this oversized pegboard wall and just think what you can do with it in your at home art studio.
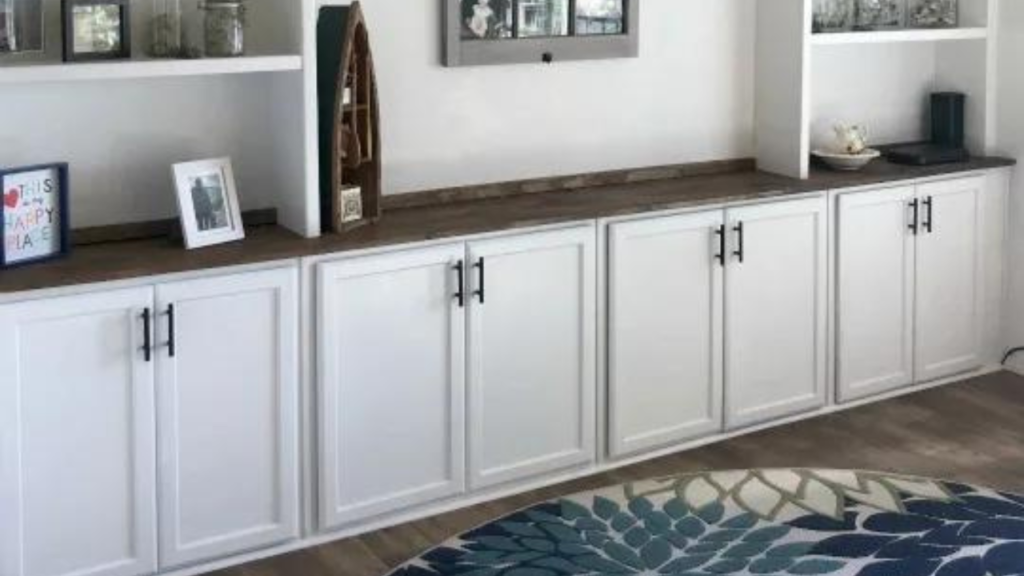
Repurpose and paint used furniture for storage and use totes inside to keep your client’s work organized. Below is a built in wall unit made with used kitchen cabinets on the bottom and painted plywood shelves on top. You can find these cabinets cheap on kijiji, consignment stores or restore shops.
ACCESS TO A SINK
In the world of messy art, you need water.
If you’re creating a home business n Life Casting, you might want to divide your work flow by doing the castings in your kitchen with clients, and finishing them in your home art studio. Another option is to keep large buckets and towels in a corner of your studio.
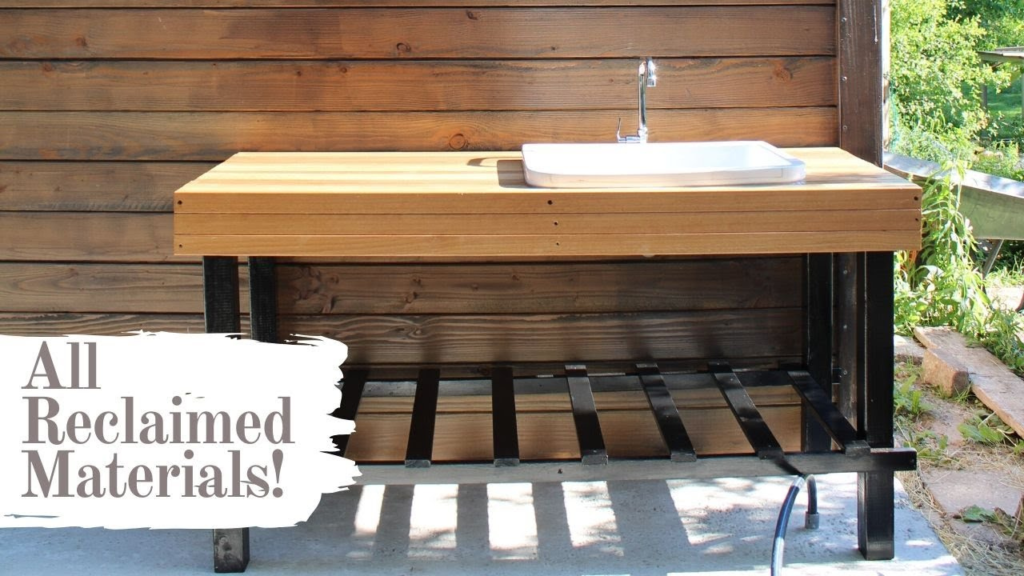
Designate one area as the water station. You could even make something like this and put a large bucket under the drain to collect the water. Use a basin of clean water on top to wash up with.
LIGHTING
The best lighting is usually daylight. But whether you have big windows or not, you’ll need a few types of artificial lighting.
Use bright, direct lighting over your work space so you can see what you’re doing. And add some indirect mood lighting when you’re working on your computer or to help you stay in an inspired state of mind.
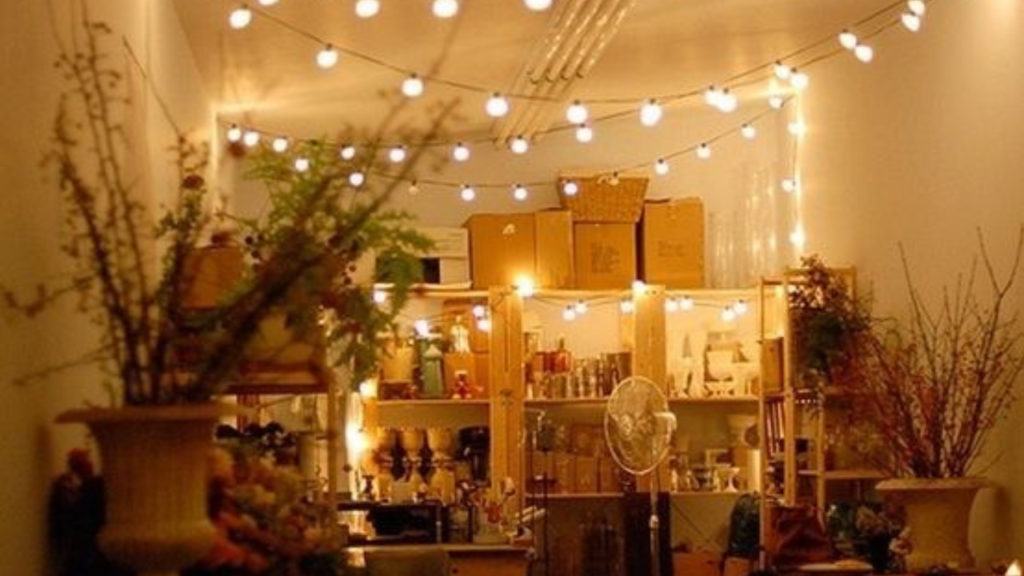
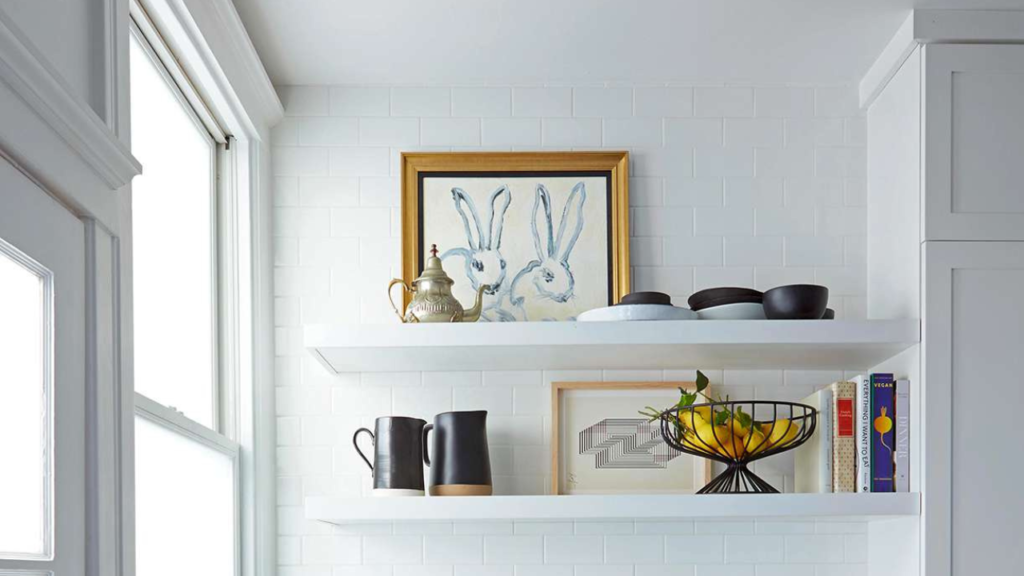
Consider also adding a designated spot for taking images of your work. A cool looking shelf or interesting table that’s lit perfectly for your social media and website photos. If you think about this now and set it up right, all your picture taking will be fast and easy.
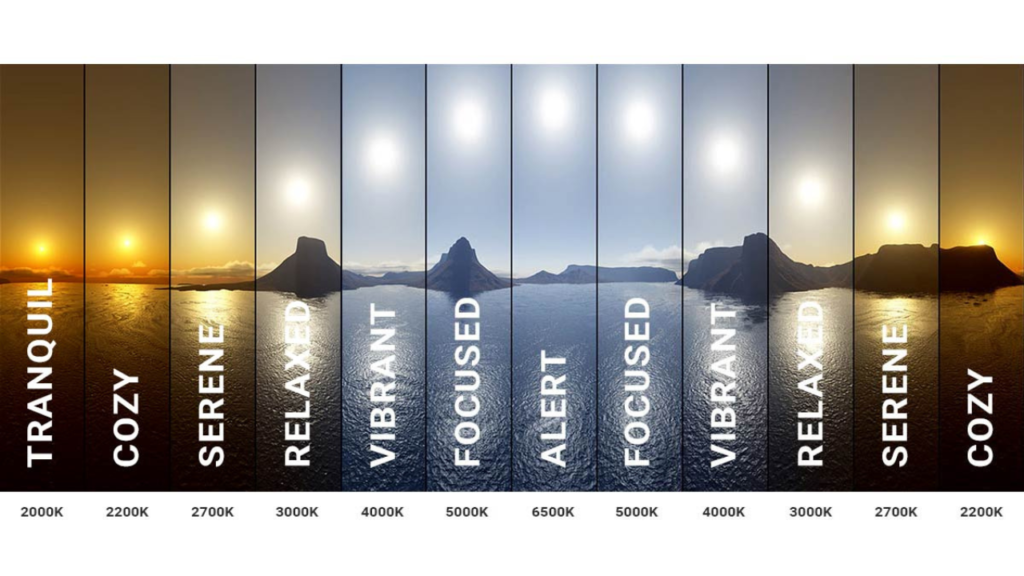
There are lots of different aspects to lighting. But we won’t go down that rabbit hole now. I just want to stick with one key piece. Lighting temperature.
Light color is measured in degrees of Kelvin (K) on a scale from 1,000 to 10,000. Normally, Kelvin temperatures for commercial and residential lighting fall somewhere on a scale between 2000K to 6500K.
True white light is in the 5,000K – 5,500K range. Try keeping the lights over your work space close to this color. You want light that is not too orange (warm) or too blue (cool). It should be natural white so that you can see the true colors of your work. But a touch on the warm side which is closest to daylight.
Stay away from fluorescent lights. LED lights are inexpensive and efficient.
So ideally, your direct overhead working light is around 5,000K. Then your mood lighting should be a warmer light. Between 2,000 – 3,000 Kelvin.
HEALTH CONSIDERATIONS
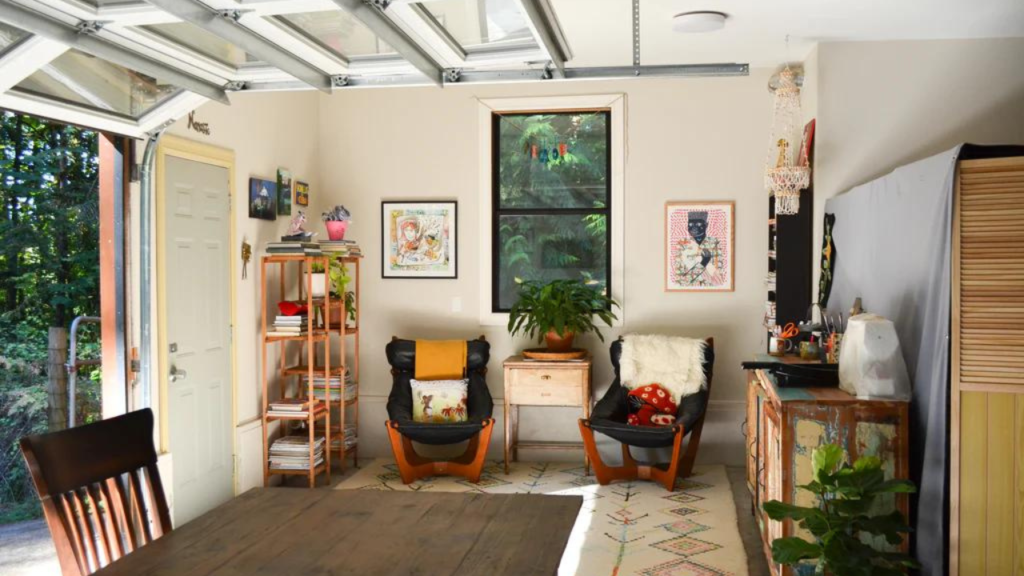
If you’re using spray paint or any chemicals such as plaster, make sure you think about good ventilation. You could make it as simple as opening a window now and then. Or doing your thing in a designated area of your garage sometimes (with the door open).
You could also use a ventilator mask to keep the toxins out. These days our bodies are so inundated with toxins that every little bit adds up. Our bodies can only detox so much before the toxins overflow into our systems and make us sick. Trust me on this, I know from experience.
Repetitive motion injuries are also common. Doing the same thing over and over again can cause strain and eventually turn into an issue. Even if it’s sitting in front of a computer.
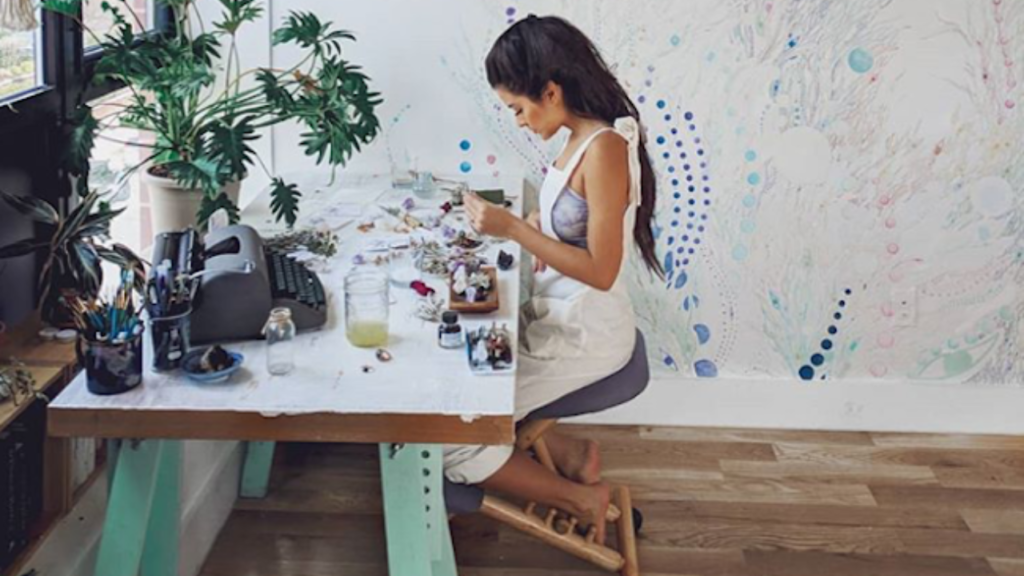
If you’re bending over all day to create art work, you are at risk. A 5 minute stretch at the beginning or end of your day can help to prevent injuries. Consider ergonomic handles if you’re gripping paint brushes all day. Or a couple of different work stations at different heights if you’re bending over a table all day.
BUDGET
So now that you have some ideas, you should set your budget FIRST.
Make a list of your must haves. Then make a list of your would-be-nice to haves. Figure out how much you want to spend. Then start shopping.
I’m going to bet that most people don’t do that. But I’m going to challenge YOU to do it.
Figure out how much money you have to spend on your space. Let’s say you set your budget at $1,000 for example. Then look at your list (must haves first) and see if you can estimate how much things will cost. It doesn’t have to be perfect. But it will help you stay within budget.
By doing this, you are running your business. It isn’t running you! See the difference?
If you want to keep costs down and design your space on a budget, here are some budget friendly places to shop.
- Habitat for Humanity / Restore – this is a North American franchise but the deals you can find are amazing. Find what you need any refinish it
- Consignment stores
- Facebook marketplace
- Kijiji or Craigslist
- Google search u0022used furniture near meu0022
Putting together your studio is a bit like an art and a science.
The best home art studio will incorporate function and flow.
Let me know what inspires you in your studio! Learn more about starting a Life Casting Home Business in my online course.





0 Comments