
Purchasing Your Tools & Supplies
WITH PURCHASE LINKS
Workspace Materials
The following links are to be used as a guide to help you find some of the products you’ll need. You can purchase them on Amazon or find them in a local store near you.
Ideally, your space should be well ventilated so that any dust or fumes from paints and plaster don’t get into your lungs. If that’s not possible, consider opening a window with a fan when you get to the sanding and painting part of your project. If you like, wear a mask that will help to filter out any harmful particles.
Use a large table or counter space with a floor that can be easily wiped down and won’t get damaged if it gets wet. In many of my video tutorials, you’ll see that I cover my table with craft paper which just makes it easier to clean up some of the mess when I’m done.
Besides that, here’s what you’ll need to set up your space and get to work!
If there are any links or images that aren’t working, OR you are located outside of Canada or the US, please let us know at support@catchthemoments.ca and we’ll help you find products in your area.

White 5 Gallon Buckets

Brown Craft Paper Roll
Used to cover your work space. This actually has a dual purpose since you’ll also be able to use this for the backing on your frames.

Craft Self Healing Cutting Mat
Used for framing, measuring and finishing your projects by placing this under your frame when you cut the paper backing with an exacto knife.
Mold Making Tools
Most of these tools and supplies are a one time purchase that you will use to create the mold. Other than the tape and the skin conditioner. But again, feel free to purchase them wherever you like.

Mixing Bowl or Juice Jug
This is a great mixing container because of the large, deep size. Plus the strong handles make it easy to pour into your alginate or plaster.


Mixing Bowl With Handle
Another bowl for mixing alginate or plaster. Its always best to have containers with a spout for pouring and more than one when you’re doing multiple projects.

3 Pc Measuring Cup Set

Blue Magic Skin Conditioner
I highly recommend this conditioner cream instead of vaseline. It washes off easier, doesn’t cover pores and is much less greasy which makes it perfect for baby castings.

Painters Tape
Use painter’s tape on your containers to identify who’s who and what’s what. Especially when you’re working on multiple castings of different babies.

Permanent Markers
Permanent markers are great for using on painter’s tape to mark and label all of your materials.

Whisk
I don’t use a whisk when mixing alginate but feel free to give it a try. Some people like it much better than using their hands and don’t mind the air bubble it could create.

Large Paddle Spoon
This is the kind of scoop spoon I use to sprinkle the plaster into the water when mixing. By adding the plaster slowly like this, it allows it to saturate properly before you mix it.

Large Scoop (2)
You’ll need a couple of large scoops like this to scoop the alginate & plaster. Especially when you purchase your materials in bulk and want to prepare only what you need to set out on your work space.
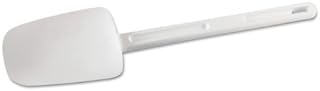
Commercial Grade Spatula
Best for slowly stirring your plaster after it has been sitting
for a few minutes soaking up the water.
Where do I get Alginate?
All of your supplies are listed on this page. Except for the alginate. Continue with your shopping list here and you can find links and info for the alginate in Module 2.
I’ll go into more detail on where to find the correct type of alginate in your area.
And what to do if you can’t find it.
Tools To Refine The Castings
These tools and supplies are a one time purchase that you
will use to refine the castings before you frame them.

Professional Grade Coping Saw
A fine tooth saw that can cut down the hands and feet so they fit properly into the shadow box.

Long Rasp
What’s most important about this rasp is that the teeth are large and rough in order to scrape away at the hard plaster when you’re rasping a flat surface on the hands and feet.

Exacto Knife
This is a good strong exacto knife. You’ll need it to cut away the alginate mold, scrape off pieces of plaster and cut the brown paper backing.

Sculpting & Picking Tools
This covers the tool set you’ll need to sculpt, refine and fix imperfections on your plaster castings.

Paint Brushes
A great paint brush set for both priming and
painting your plaster castings.
Tools To Frame The Castings
Here are the necessary tools you’ll need to put the frames together and take them apart if needed.
In the Framing module, I’ll give you all the measurements and specifications to buy Triple, Double and Single shadow box frames at your local framing store.

Point Driver Framing Tool
There are better quality & more expensive Point Driver Framing tools but this one is great to start out with.

Framing Pins
Extra framing pins.

Needle Nose Pliers
Pull out framing pins that are defective or improperly placed. You’ll find lots of other uses for these as well.

Matt Eraser
Great for getting rid of marks that might accidentally end up on one of the mats.

Small Hammer
This is a small sized hammer used to hammer the saw toothed hooks into the back of the frame.

Foam Core Board
These are acid free, white foam core boards you’ll have to cut for the back of a Triple Frame. You’ll only need to order these if your framer doesn’t include it with your frames.

Compressed Air Duster
Here’s one way to use compressed air on every layer of framing. In case the compressed air cans go out of stock. You can use this rechargeable version for a one time purchase.

Compressed Air Duster
Use the compressed air on every layer of framing when you put it together. You can use these or the rechargeable electric version so I’m giving you both here.
Ongoing Supplies and Materials
These are some of the remaining supplies you’ll need to keep re-ordering.

Hydrocal White Gypsum Cement
Here’s your gypsum or Hydrocal White. Best to order in bulk if you can. You should be able to do about 18 – 20 baby castings with a 10 lb bag.

Plater Putty
This is great for repairing holes and imperfections. Its quite common for the hands and feet to come out of the mold in need of some level of repair.
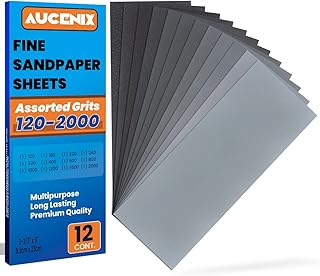
Rough & Fine Sandpaper
This package has multiple grit levels of sandpaper. Rougher grit to take out the rasping lines and finer grit to make them smooth.

Double Sided Tape
Used on the back of your frame when you add the brown paper. This tape is also used in between the layers of matting to prevent gaping.

1 Inch Acid Free Tape
Use this white tape to secure the photo onto the window of the matting inside the frame.
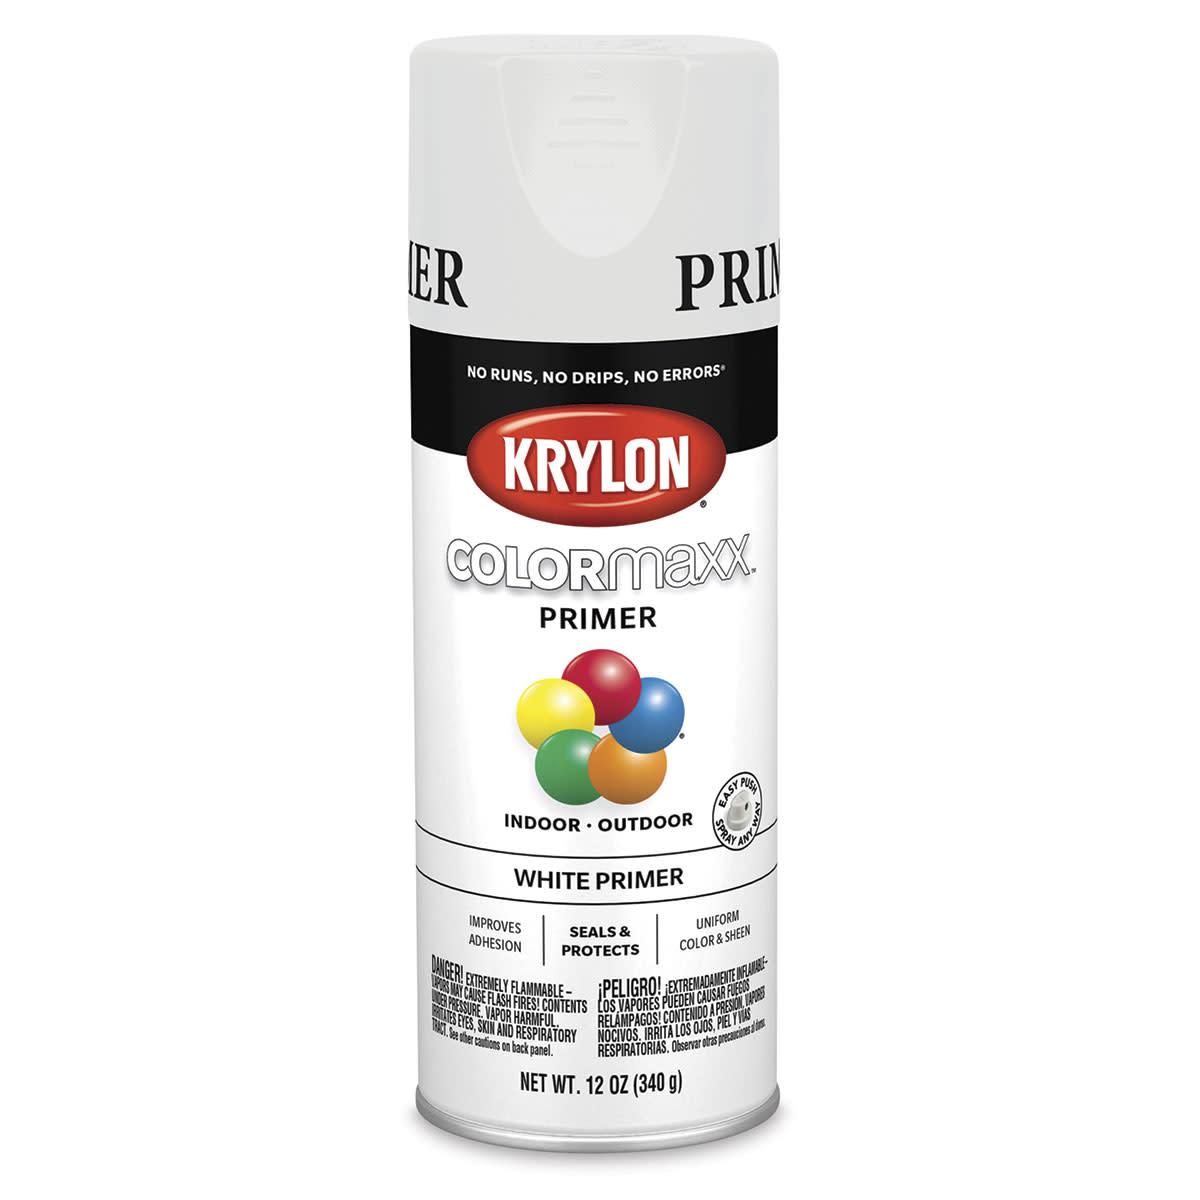
Plaster Primer Spray Paint
Here’s the primer I highly recommend as the base coat before you paint.

D Ring Picture Hangers & Wire Kit
Use this D-ring and wire set for the Triple Frame Shadow Box since it’s stronger than the saw tooth hooks.

5 Minute 2 Part Epoxy
My go-to epoxy. Easy to mix, strong and sets fast. This set will last you a while.

Saw Tooth Framing Hooks
Use these saw tooth hooks only for the lighter Double and Single frames. Not the Triple frame.
Paints!
I recommend that you use acrylic paint on your plaster castings. That’s with or without primer for two different looks. Below are my favorite paint colors that my clients have always loved.

Jacquard Lumiere Acrylics - Metallic Acrylic Paint 2.25 Ounces-Pearlescent White
These acrylic metallic paint colors are the ones I use a lot and my clients love them. Especially the Pearl White paint color.

Jacquard Lumiere Acrylic - Metallic Acrylic Paint 2.25 Ounces-Gold
Here’s the same paint in Metallic Gold. This link will allow you to chose multiple metallic colors to use on your castings including a sample bundle.

Acrylic Spray Paint
Here’s an acrylic spray paint with lots of different colors to chose from. This one is in Gold but feel free to pick from the large selection when you click through to the purchase page.